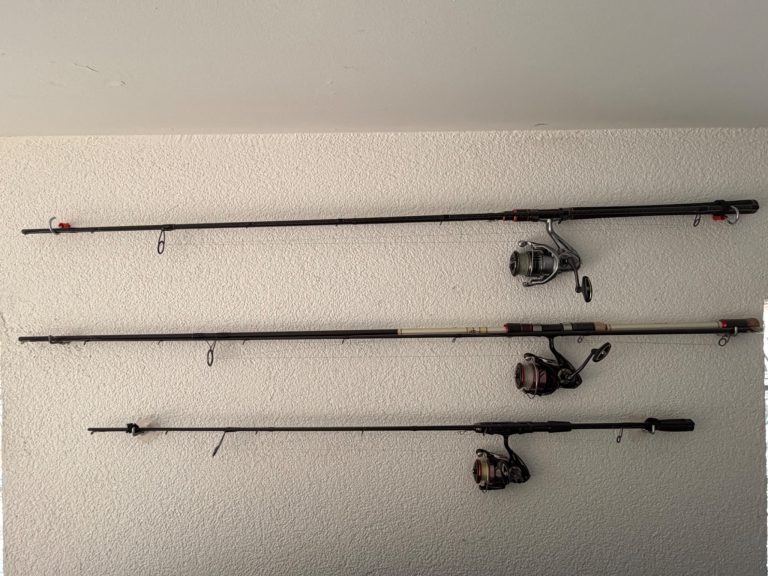
A damaged rod guide insert can look like a tiny problem until line starts fraying for no obvious reason. A chip in the ring, a rough edge or a completely missing insert puts the fishing line in contact with a surface it was never meant to run across.
Fortunately, it does not normally mean the fishing rod is finished.
The important part is identifying exactly what has failed. Sometimes the ceramic ring is damaged while the metal frame remains straight. In other cases, the entire guide has been bent, loosened or crushed. Those problems do not always require the same repair.
What Is a Rod Guide Insert?
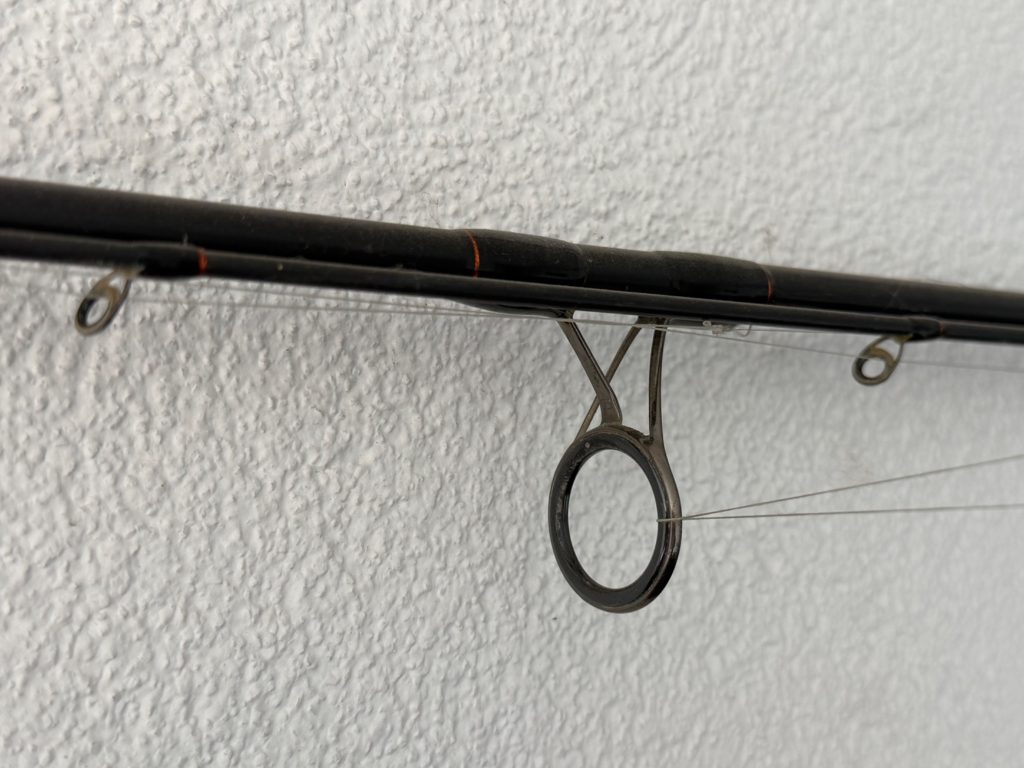
A fishing rod guide normally has two main visible parts: the metal frame and the smooth ring through which the fishing line runs.
That inner ring is commonly called the guide insert, guide ring or ceramic ring.
Not every guide is constructed exactly the same way, and manufacturers use several different ring materials and mounting systems. The principle, however, is similar: the fishing line should pass through a hard, smooth surface rather than repeatedly rubbing against a rough metal edge.
This becomes particularly important during casting and when fighting fish.
Every metre of line leaving the reel passes through the guides. Under load, the line can also press firmly against some of those rings. A tiny chip that appears insignificant while the rod is sitting on a rack can therefore become much more important once line repeatedly passes across it.
The tip-top deserves particular attention because line changes direction around it continually during normal fishing.
How to Check a Rod Guide Insert for Damage
Not all rod guide damage is obvious.
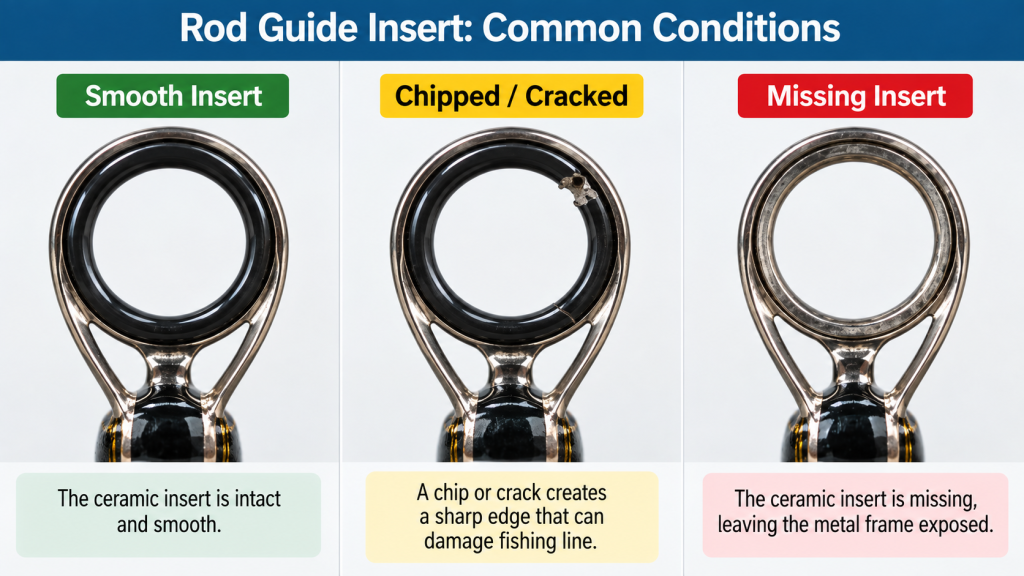
A missing insert is easy to spot. A small crack on the inside edge of a dark ceramic ring can be much harder to see.
There are three useful checks.
Look at the Ring in Good Light
Rotate the rod and inspect the entire circumference of each guide.
Look for:
- missing pieces;
- hairline cracks;
- chips around the inner edge;
- a ring sitting unevenly inside the frame;
- gaps between the ring and frame;
- bent guide frames;
- loose guide feet or cracked thread finish.
Compare a suspicious guide with the guides immediately above and below it.
A guide does not have to look completely destroyed to cause trouble.
Use a Cotton Swab
Gently run a clean cotton swab around the inside surface of the ring.
A smooth insert should allow it to move around without catching. If fibers snag repeatedly in one location, inspect that spot closely.
This is particularly useful for finding a tiny sharp chip that your eyes may miss.
Do not treat the cotton test as proof that every ring is perfect. It is simply an easy additional inspection.
Check the Fishing Line
Unexpected fraying can also point toward a guide problem.
If a section of otherwise healthy line repeatedly becomes rough after passing through the rod, inspect every guide carefully.
Pay particular attention when the same problem returns after replacing the damaged section of line.
| What You Find | Likely Problem | Best Response |
|---|---|---|
| Small sharp chip in the ring | Damaged insert | Stop fishing and repair or replace the guide |
| Ring completely missing | Insert has separated from frame | Usually replace the complete guide |
| Ring loose inside frame | Failed seating or damaged guide | Replace unless a proper insert repair is available |
| Metal frame bent | Impact damage | Replace complete guide |
| Guide foot moving on blank | Failed wrap or finish | Rewrap or replace guide |
| Damaged top guide | Tip-top failure | Replace the tip-top |
Why a Damaged Rod Guide Insert Matters
A rod guide is not just there to keep line approximately aligned with the blank.
Its inner surface is part of the line path.
A healthy ceramic guide provides a smooth surface that helps line travel through the rod during casting and retrieval. Rod-building guidance from Anglers Resource specifically notes the smooth surface of ceramic guides and the importance of guide material, size and layout to line management and wear.
That explains why a chipped insert should not be treated purely as cosmetic damage.
Can You Replace Only the Rod Guide Insert?
Sometimes — but this is where the repair is often oversimplified.
It is tempting to see an intact metal frame and assume that a new ceramic ring can simply be pushed or glued into it.
That may work with the right replacement ring and the right guide design. It is not a universal repair.
Guide manufacturers use specific ring dimensions and methods of securing rings into frames. Some modern guide systems deliberately use press-fit geometry, recessed rings or additional bonding areas to prevent the ring from separating from the frame.
A generic replacement ring that is approximately the correct diameter is therefore not automatically equivalent to the original insert.
When Insert-Only Replacement Makes Sense
Replacing only the insert is most reasonable when:
- the metal frame is completely undamaged;
- an exact compatible replacement ring is available;
- the dimensions can be matched accurately;
- the correct installation method is known;
- and the new insert can be seated securely without deforming the frame.
For somebody already experienced in rod building, that can be a perfectly valid repair.
For a basic home repair, however, replacing the entire guide often removes several unknowns.
When Replacing the Whole Guide Is Better
Replace the complete guide when the frame is bent, distorted or corroded, when you cannot identify the original insert, or when a replacement ring does not fit securely.
The same applies if the ceramic has shattered and damaged the part of the frame that held it.
A complete replacement also allows you to match the guide height and ring diameter to the original rather than trying to rebuild an unknown press fit.
On two-piece rods, inspect the ferrule separately as well. A damaged guide insert and a ferrule problem are two completely different repairs.
How to Replace a Fishing Rod Guide Insert Properly
If replacing only the insert is uncertain, the dependable approach is usually to replace the complete guide.
This involves more work because the existing thread wrap must be removed and the new guide wrapped onto the blank.
1. Identify the Correct Replacement Guide
Before removing anything, measure and photograph the existing guide.
Match:
- ring diameter;
- guide height;
- single-foot or double-foot design;
- frame shape;
- guide position;
- and approximate foot length.
Manufacturers and rod-building suppliers commonly specify guide dimensions, including ring size, height and foot dimensions.
Matching the original closely keeps the repaired guide consistent with the rest of the guide train.
2. Remove the Old Wrap Carefully
This is the stage where unnecessary damage can turn a simple guide repair into a damaged rod blank.
Cut the finish and thread over the metal guide foot, rather than directing a blade downward into the blank.
Once the thread has been opened, it can normally be unwound or peeled away.
Work slowly.
Graphite blanks in particular should not be aggressively scraped or sanded simply to make the repair area look perfectly clean.
If the blank underneath the guide is cracked, crushed or deeply cut, stop treating the problem as a guide repair. Structural blank damage needs separate assessment.
3. Position the Replacement Guide
Place the replacement where the original guide sat and temporarily secure it.
Sight down the rod and compare it with the remaining guide train.
The centers of the guides should follow the intended line from reel to tip.
This is much easier to correct before wrapping than afterward.
4. Wrap the Guide Foot
Rod-building thread is used to secure conventional guides to the blank.
Wrap toward and over the prepared guide foot using consistent tension and adjacent turns.
The goal is not to crush the guide onto the blank with maximum force. The wrap needs to be neat, secure and evenly tensioned.
If this is the first rod repair you have attempted, practicing a thread wrap on an old rod or inexpensive blank section is worthwhile before working on expensive tackle.
5. Apply Rod Finish
Once the guide is correctly aligned and wrapped, the thread normally receives a purpose-made rod finish.
Follow the finish manufacturer’s mixing and curing instructions rather than guessing ratios or cure times.
Keep the coating controlled. More epoxy does not automatically make the repair stronger.
After curing, inspect the guide again before putting the rod under significant load.
A detailed rod-building repair tutorial from Mud Hole follows the same general process: measure the guide, remove the damaged component carefully, align the replacement, wrap it and apply finish.
What About a Damaged Tip-Top Insert?
A damaged tip-top is slightly different.
Rather than being thread-wrapped onto the side of the blank in the same way as most running guides, the tip-top normally has a small tube that fits over the end of the rod blank.
That makes complete tip-top replacement considerably easier.
If its insert is cracked or missing, replacing the whole tip-top is normally more sensible than trying to rebuild the ring inside it.
The important measurement is not just the ring size. The tube also needs to match the diameter of the rod tip.
Tip-tops are commonly installed with purpose-made tip adhesive that allows the component to be fitted and aligned with the rest of the guides.
Avoid aggressive heating. The objective is to soften the adhesive, not cook the rod blank.
How to Choose the Right Replacement Guide
Do not select a replacement based only on the hole looking approximately the right size.
Start with the original guide.
Measure it and compare its shape with available replacements.
The important characteristics are:
Ring size: The opening should remain consistent with that part of the existing guide train.
Guide height: This is particularly important on spinning rods, where guide height contributes to controlling the coils leaving the spool.
Frame style: Replace a single-foot guide with a similar single-foot design unless you have a specific reason to change the guide system.
Foot size: A replacement with a dramatically different footprint can make the repair unnecessarily difficult.
Ring material: An exact material match is nice when available, but compatibility, smoothness and correct dimensions matter more than choosing a replacement because its material name sounds more premium.
You do not need to replace every guide on a rod simply because one guide failed.
A properly matched individual guide can be replaced independently.
Can You Keep Fishing With a Broken Guide Insert?
If the insert has a sharp chip or is completely missing, the sensible answer is no.
The exposed edge can damage line quickly, particularly once the rod is loaded.
Tape wrapped around the outside of the guide does not repair the surface that the fishing line touches.
Glue applied across a sharp crack does not recreate a properly finished guide ring either.
If the failure occurs during a fishing trip, using a spare rod is preferable to risking line failure and potentially losing a fish, rig or lure.
Temporary replacement-guide systems do exist for emergency repairs, but they are different from pretending a broken ceramic ring is still usable.
What Usually Damages Rod Guide Inserts?
Direct impact is one of the biggest risks.
Guides can be damaged when rods are:
- dropped onto hard ground;
- pushed carelessly into vehicles;
- trapped under tackle;
- leaned where they can fall;
- stepped on;
- or transported without protecting the guides.
The ring can crack even when the metal frame appears relatively normal.
Saltwater use adds another consideration because the frame, wrap and guide should be rinsed and inspected periodically for corrosion or deterioration. Anglers Resource specifically recommends inspecting guides for wear and damage as part of saltwater rod maintenance.
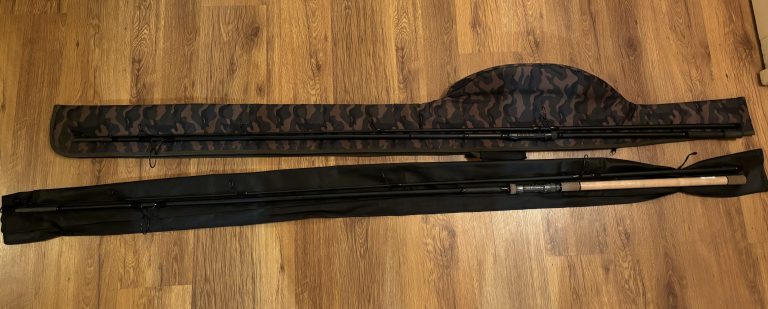
This is also why how to store fishing rods matters. Keeping rods separated and protected from impacts is much easier than rewrapping damaged guides afterward.
Common Rod Guide Repair Mistakes
One of the biggest mistakes is continuing to fish because the damaged insert “doesn’t look that bad.”
The relevant question is not how large the chip looks. It is whether fishing line can pass over it without abrasion.
Another mistake is buying an insert based purely on approximate diameter and trying to force it into the frame.
Forcing the ring can damage both the replacement and the guide.
Avoid cutting down toward the rod blank when removing wraps. Work over the metal guide foot whenever possible.
And do not ignore alignment.
A beautifully wrapped replacement guide pointing away from the rest of the guide train is still a poor repair.
Frequently Asked Questions
Can I glue a rod guide insert back in?
Possibly, but only when the original insert is undamaged and the guide design allows it to be securely reseated. A ring that popped out may indicate that the original mounting system has failed. When there is any doubt, replacing the complete guide is the more predictable repair.
Can a cracked rod guide insert damage braided line?
Yes. Braid is strong under straight pulling loads, but repeated contact with a sharp damaged surface can abrade it. Monofilament and fluorocarbon can also be damaged by rough guide edges.
Can I fish with one guide missing?
It is better to repair the rod first. The guide train distributes and controls the fishing line along the rod blank. Removing one guide changes that line path, particularly when the rod is loaded.
Do I need to replace every guide if one insert breaks?
No. A single damaged guide can normally be replaced while the others remain in place, provided the rest are in good condition.
Is replacing a tip-top easier than replacing a normal guide?
Usually yes. A conventional running guide normally requires removal and replacement of the thread wrap and finish. A tip-top typically fits over the end of the blank and can be replaced without rewrapping a guide foot.
Final Takeaway
A damaged rod guide insert is worth fixing as soon as you find it.
The most important question is whether the surface touching your fishing line is still completely smooth. If it is chipped, cracked, loose or missing, stop using that guide.
Replacing only the insert is possible in some situations, but do not force a generic ring into an unknown frame. When the correct insert and installation method are uncertain, replacing the complete guide is usually the cleaner and more reliable repair.