A fish finder can be mounted almost anywhere there is enough room for the display, but that does not mean every location will work well on the water. The best fish finder mounting ideas keep the screen easy to see and reach, hold it steady in rough conditions, leave controls and fishing space unobstructed, and provide a sensible route for power and transducer cables.
The display is only one part of the job. Before drilling holes, plan the display mount, transducer position and cable route together.
Fish Finder Mounting Ideas at a Glance
| Mounting option | Best suited to | Main advantage | Main drawback |
|---|---|---|---|
| Gimbal bracket | Most boats | Simple, secure and usually included | Needs a suitable flat surface |
| Ball-and-socket mount | Small to medium displays | Highly adjustable | Can move if overloaded or poorly tightened |
| Articulating or swing-arm mount | Tight consoles and side mounting | Adds reach and positioning flexibility | More hardware and leverage on the base |
| Flush/in-dash mount | Permanent console installations | Clean, protected appearance | Requires cutting the console |
| Bow bridge or mounting plate | Bass boats and bow electronics | Stable, raised viewing position | More permanent installation |
| Track or rail mount | Kayaks and small craft | Removable and repositionable | Limited by track strength and available space |
| Clamp-on/removable base | Jon boats, rental boats and temporary setups | Little or no permanent modification | Must be secured carefully |
| Electronics pod | Kayaks and portable systems | Keeps display, battery and wiring together | Adds bulk to a small cockpit |
Choose the Location Before Choosing the Mount
A mount solves the mechanical problem, but the location determines whether the fish finder is pleasant to use.
Start by sitting or standing where you normally operate the boat or fish. The screen should be visible without forcing you to lean forward or twist around repeatedly. It should also be close enough to use the buttons or touchscreen without leaving the helm or upsetting your balance in a kayak.
Check what happens when the steering wheel turns, the throttle moves, the trolling motor is deployed, rods are laid on the deck and storage lids are opened. A fish finder that fits perfectly while the boat is parked can become an obstruction once everything is moving.
Before drilling, temporarily position the unit with masking tape, clamps or a scrap mounting board. Move around the boat and look at it from normal fishing positions. This simple test is much cheaper than discovering that a permanent mount blocks a hatch or sits directly behind the steering wheel.
Plan the Cables at the Same Time
The best-looking mounting location may be useless if the power cable cannot reach the electrical system cleanly or the transducer cable must cross a walkway.
Look for a route that protects cables from sharp edges, pinch points, hot surfaces and moving components. Leave enough slack where the display or mount needs to rotate, but avoid loose coils that can catch tackle or feet.
Follow the fish finder manufacturer’s instructions for cable routing, extensions and electrical separation. Do not shorten, cut or splice a proprietary transducer cable unless the manufacturer specifically allows it.
Fish Finder Mounting Ideas by Mount Type
Use the Supplied Gimbal Bracket
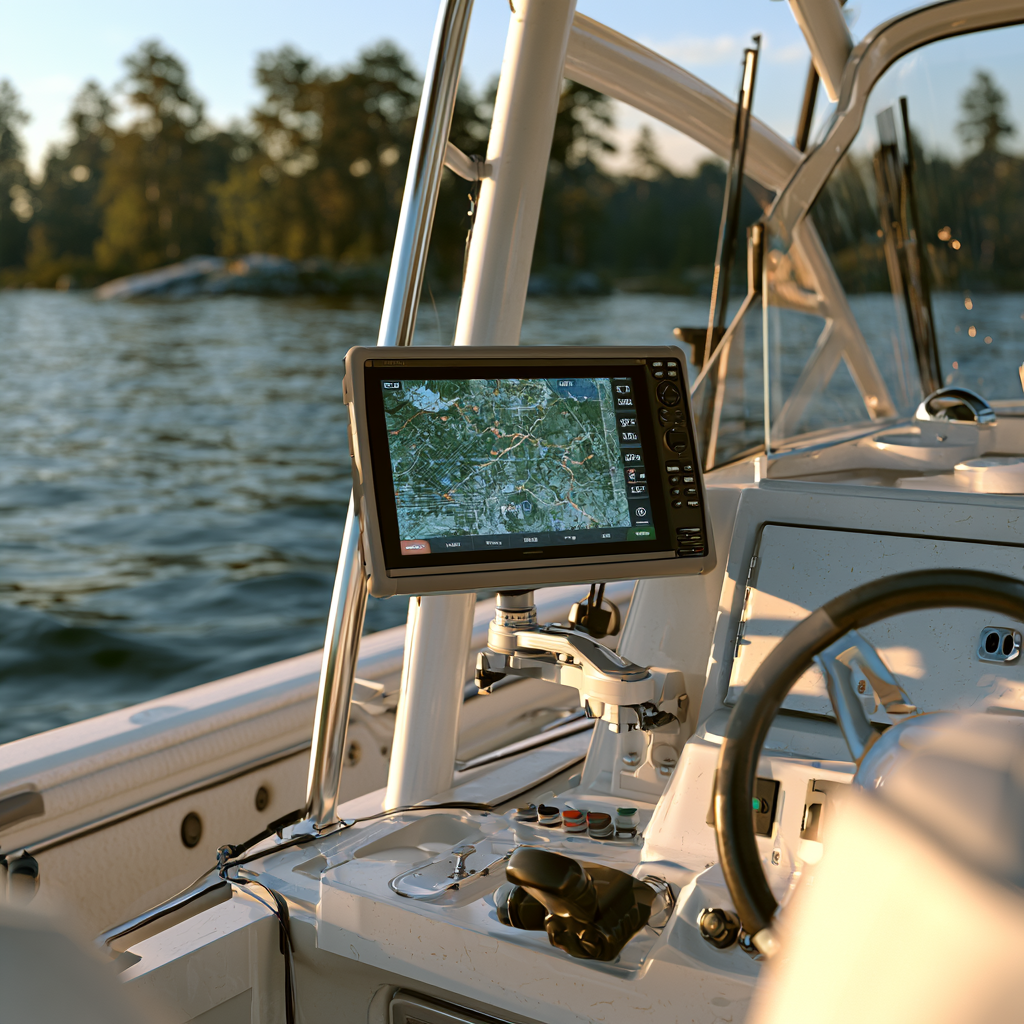
The gimbal bracket supplied with many fish finders is often the best place to start. It is designed for the size and mounting points of that particular display, usually allows the screen to tilt, and does not require an additional aftermarket arm.
It works especially well on flat consoles, shelves, bench seats and raised mounting plates.
The weakness is flexibility. A basic gimbal usually tilts but does not give the same reach or rotation as an articulating mount. If the only flat area is too far away or partly hidden by the wheel, another mounting style may be better.
Add a Ball-and-Socket Mount for Adjustment
A ball-and-socket system can lift the fish finder above a crowded console and make it much easier to rotate the screen toward different seating or fishing positions.
This is particularly useful on kayaks, compact boats and consoles where a fixed bracket would leave the display at an awkward angle.
Match the mount to the weight and size of the display. A long arm holding a large screen creates much more leverage than a compact unit mounted close to the base. If the screen droops or shifts whenever the boat hits chop, the mount is too lightly built, too long, insufficiently tightened or poorly supported.
Use an Articulating or Swing-Arm Mount in Tight Spaces
An articulating mount is useful when the strongest mounting surface is not exactly where the screen needs to end up.
The base can be fixed beside a console or along a gunwale while the arm brings the display closer to the operator. When positioned correctly, the screen can then be swung away when it is not needed.
This arrangement is useful on open boats with limited dashboard space, but it places additional leverage on the mounting base. A solid attachment point matters more as the arm becomes longer.
Flush-Mount the Display for a Permanent Installation
A flush-mounted fish finder sits directly in the console rather than on top of it. The result is neat, low-profile and difficult to knock accidentally.
The trade-off is commitment. The console must be cut precisely, the screen position is largely fixed, and removal is less convenient. Space behind the dash also matters because the unit, plugs and cables need sufficient clearance.
Flush mounting makes the most sense when the console is designed for electronics and the display is likely to remain there for years.
Use a Bow Bridge or Dedicated Mounting Plate
Bow-mounted electronics are common on boats where the angler spends much of the day fishing from the front deck.
A bridge-style bracket or rigid mounting plate can raise the display above the deck and move it into a more natural viewing position. It can also avoid drilling directly into an awkward or thin section of deck.
This style is particularly useful for larger displays or multiple electronics, but the structure underneath the bracket must still be strong enough for the load.
Use a Track or Rail Mount on a Kayak
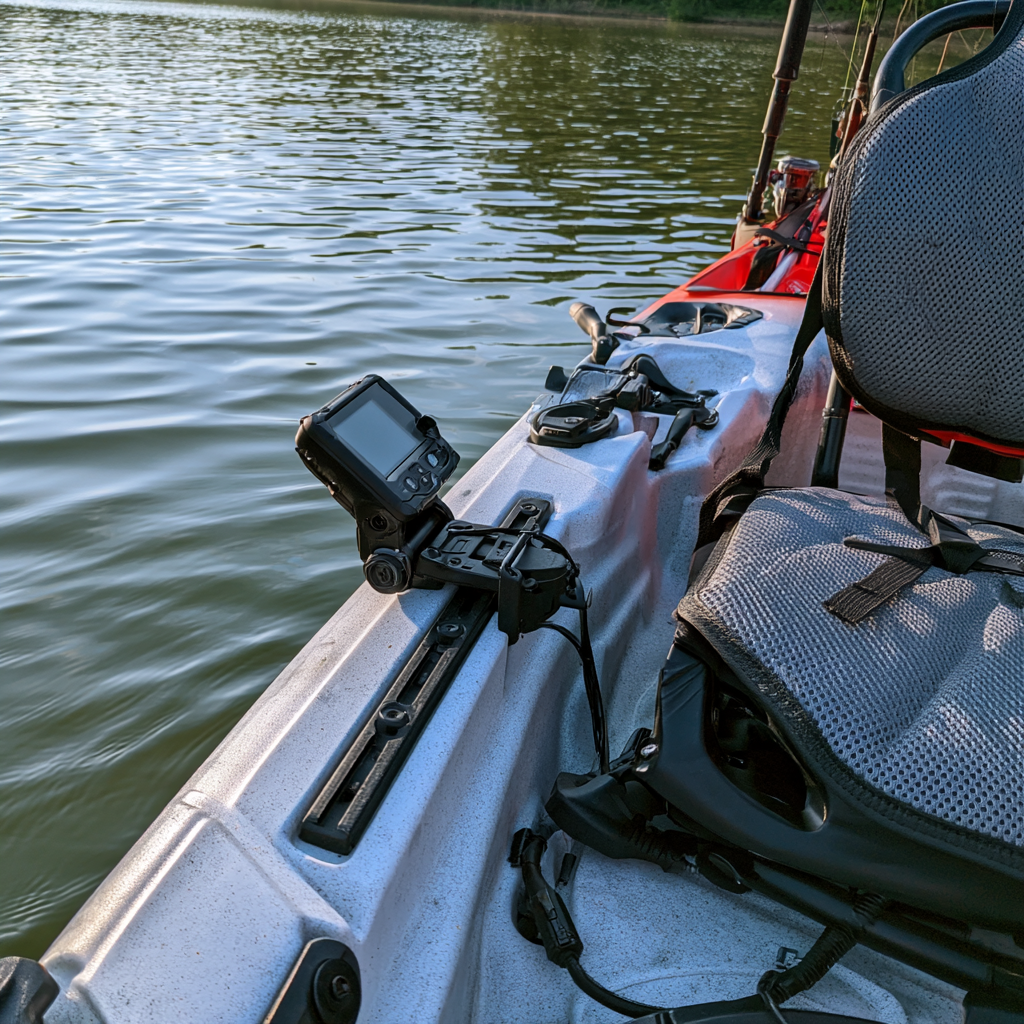
Accessory tracks are one of the cleanest ways to mount a fish finder on a fishing kayak.
A track-mounted base can usually be moved forward or backward and removed without adding another permanent hole to the kayak. That flexibility is useful because cockpit space is limited and the ideal position depends on paddle stroke, pedal drive, rod storage and seat position.
Keep the display close enough to operate without leaning excessively. Also check that the screen and mount do not interfere with getting into the kayak, landing fish or paddling.
Build a Removable Clamp-On Base for a Jon Boat
A removable mounting board or clamp-on base can be a practical choice for a simple jon boat, rental boat or any craft where permanent drilling is undesirable.
The display, battery box and even cable clips can be attached to the removable board rather than the boat itself. The entire system can then be taken off for transport or storage.
The important part is preventing movement. The clamp must grip a strong section of the boat securely, and the display should not be positioned where its weight can twist the base loose.
If you are still choosing the boat itself, our flat bottom vs V hull comparison explains how shallow-water access, stability and rough-water ride change with hull design.
Use an Electronics Pod for a Portable Kayak Setup
Some kayak anglers keep the display, battery, wiring and mounting hardware together on a removable electronics pod or box.
This reduces the number of separate parts that have to be installed at the launch and can make storage easier. A removable transducer arm can also be attached to the same general system on kayaks that do not have a protected transducer recess.
The drawback is cockpit space. A compact installation is more valuable than adding every possible accessory to one platform.
Raise the Screen When Constant Viewing Matters
Tall pedestal mounts are sometimes used with forward-facing sonar because the angler may spend long periods watching the display while casting.
Raising the screen can reduce the need to bend or look down constantly, but height increases leverage on the mounting base. The unit also needs to fold or sit low enough that it does not obstruct safe operation of the boat.
For a normal compact fish finder, a tall pedestal is usually unnecessary.
Do Not Forget the Transducer
A perfect display mount cannot compensate for a poorly positioned transducer.
If drilling and transducer placement are exactly what you want to avoid, a castable fish finder can provide portable sonar without permanently mounting a display or transducer.
For conventional transom-mounted sonar, the transducer needs a location where it remains in suitable water flow and is not directly behind hull features that create bubbles or turbulence. It should also be protected from the propeller path and from impacts during launching, trailering or storage.
Garmin’s current transducer installation guidance specifically warns against mounting behind strakes, fittings, water intakes and other turbulence-producing features, and against placing the transducer in the propeller path.
Different sonar systems can have very different mounting requirements, especially side-imaging and forward-facing transducers, so the installation manual for the exact transducer takes priority over generic advice.
If you later have a fish finder not showing fish even though the unit powers up normally, transducer position, orientation and water flow are among the installation factors worth checking.
Common Fish Finder Mounting Mistakes
Drilling before testing the position: Sit at the helm, stand on the casting deck and open nearby hatches before committing to holes.
Mounting the display too far away: A touchscreen or keypad becomes frustrating if it can only be reached by leaning forward every time.
Blocking controls or sightlines: The fish finder should not hide gauges, obstruct the steering wheel or reduce the operator’s forward view.
Using a mount that is too light for the display: Bigger screens and longer arms create more leverage. The mount and attachment surface both need to cope with it.
Ignoring the cable route: Do not create a clean display installation that leaves cables stretched across the deck or pinched under a hatch.
Treating the transducer as an afterthought: A convenient display position is not enough if the transducer cannot be mounted correctly or its cable cannot be routed safely.
Making a temporary setup difficult to remove: If the boat is stored outdoors, transported frequently or used for other purposes, quick removal may be more valuable than the cleanest permanent installation.
FAQ
Can You Mount a Fish Finder Without Drilling Holes?
Yes. Depending on the boat, options include existing accessory tracks, rail clamps, removable mounting boards, portable electronics boxes and clamp-on bases. The transducer may still require its own compatible mounting solution.
Where Is the Best Place to Mount the Fish Finder Screen?
The best position is normally where the operator can see and reach the display easily without blocking controls, gauges, storage or a safe forward view. On larger boats this is often the console or bow; on kayaks it is usually beside or slightly forward of the seat.
Can a Fish Finder Be Mounted on a Kayak?
Yes. Track-mounted display brackets, removable electronics pods and over-the-side transducer arms are common options. The installation should stay clear of paddle strokes, pedal drives, rods and entry into the cockpit.
Where Is My Fish Finder Looking?
If you are asking where is my fish finder looking, the answer depends on the transducer type, orientation and sonar mode rather than the location of the display itself. Traditional, side-imaging and forward-facing sonar can cover very different areas of water.
Does the Transducer Have to Be Close to the Display?
No. The screen and transducer can be mounted in different parts of the boat as long as the approved cable arrangement reaches correctly and can be routed safely. Follow the installation instructions for the exact fish finder and transducer.
Final Takeaway
The best fish finder mounting ideas are not necessarily the most elaborate. Start with the simplest mount that puts the display where it is easy to see and reach, then make sure the transducer and cables can be installed properly before drilling anything.
A secure gimbal mount may be all a conventional boat needs, while kayaks and small craft often benefit more from removable track, clamp or pod systems. The most important step is planning the entire installation as one system rather than choosing the screen location first and solving the rest afterward.